2021 版 链接到标题
准备工作 链接到标题
Linux 系统,我是在实验室配的主机上装了 Debian Bookworm,然后 mac 通过 ssh 连接上去进行操作,宿舍里则是使用的 wsl2,里面的发行版也是 Debian Bookworm。
开始配置 链接到标题
clone 源码 链接到标题
在 ~/Documents/code/mit 目录下执行 git clone git://g.csail.mit.edu/xv6-labs-2021,将源码 clone 下来。并执行 git clone https://github.com/mit-pdos/xv6-riscv-book.git,这个是参考资料(即 PDF 对应的 Latex 源码)
前面 clone 下来的 repository 包含了多个分支,每个分支对应一个 Lab。
执行 cd xv6-labs-2021 && git checkout util,切换到 Lab Utilities 对应的 分支。
安装工具 链接到标题
执行以下两条命令:
$ sudo apt-get update && sudo apt-get upgrade
$ sudo apt-get install git build-essential gdb-multiarch qemu-system-misc gcc-riscv64-linux-gnu binutils-riscv64-linux-gnu
从而安装对应工具。
开始调试 链接到标题
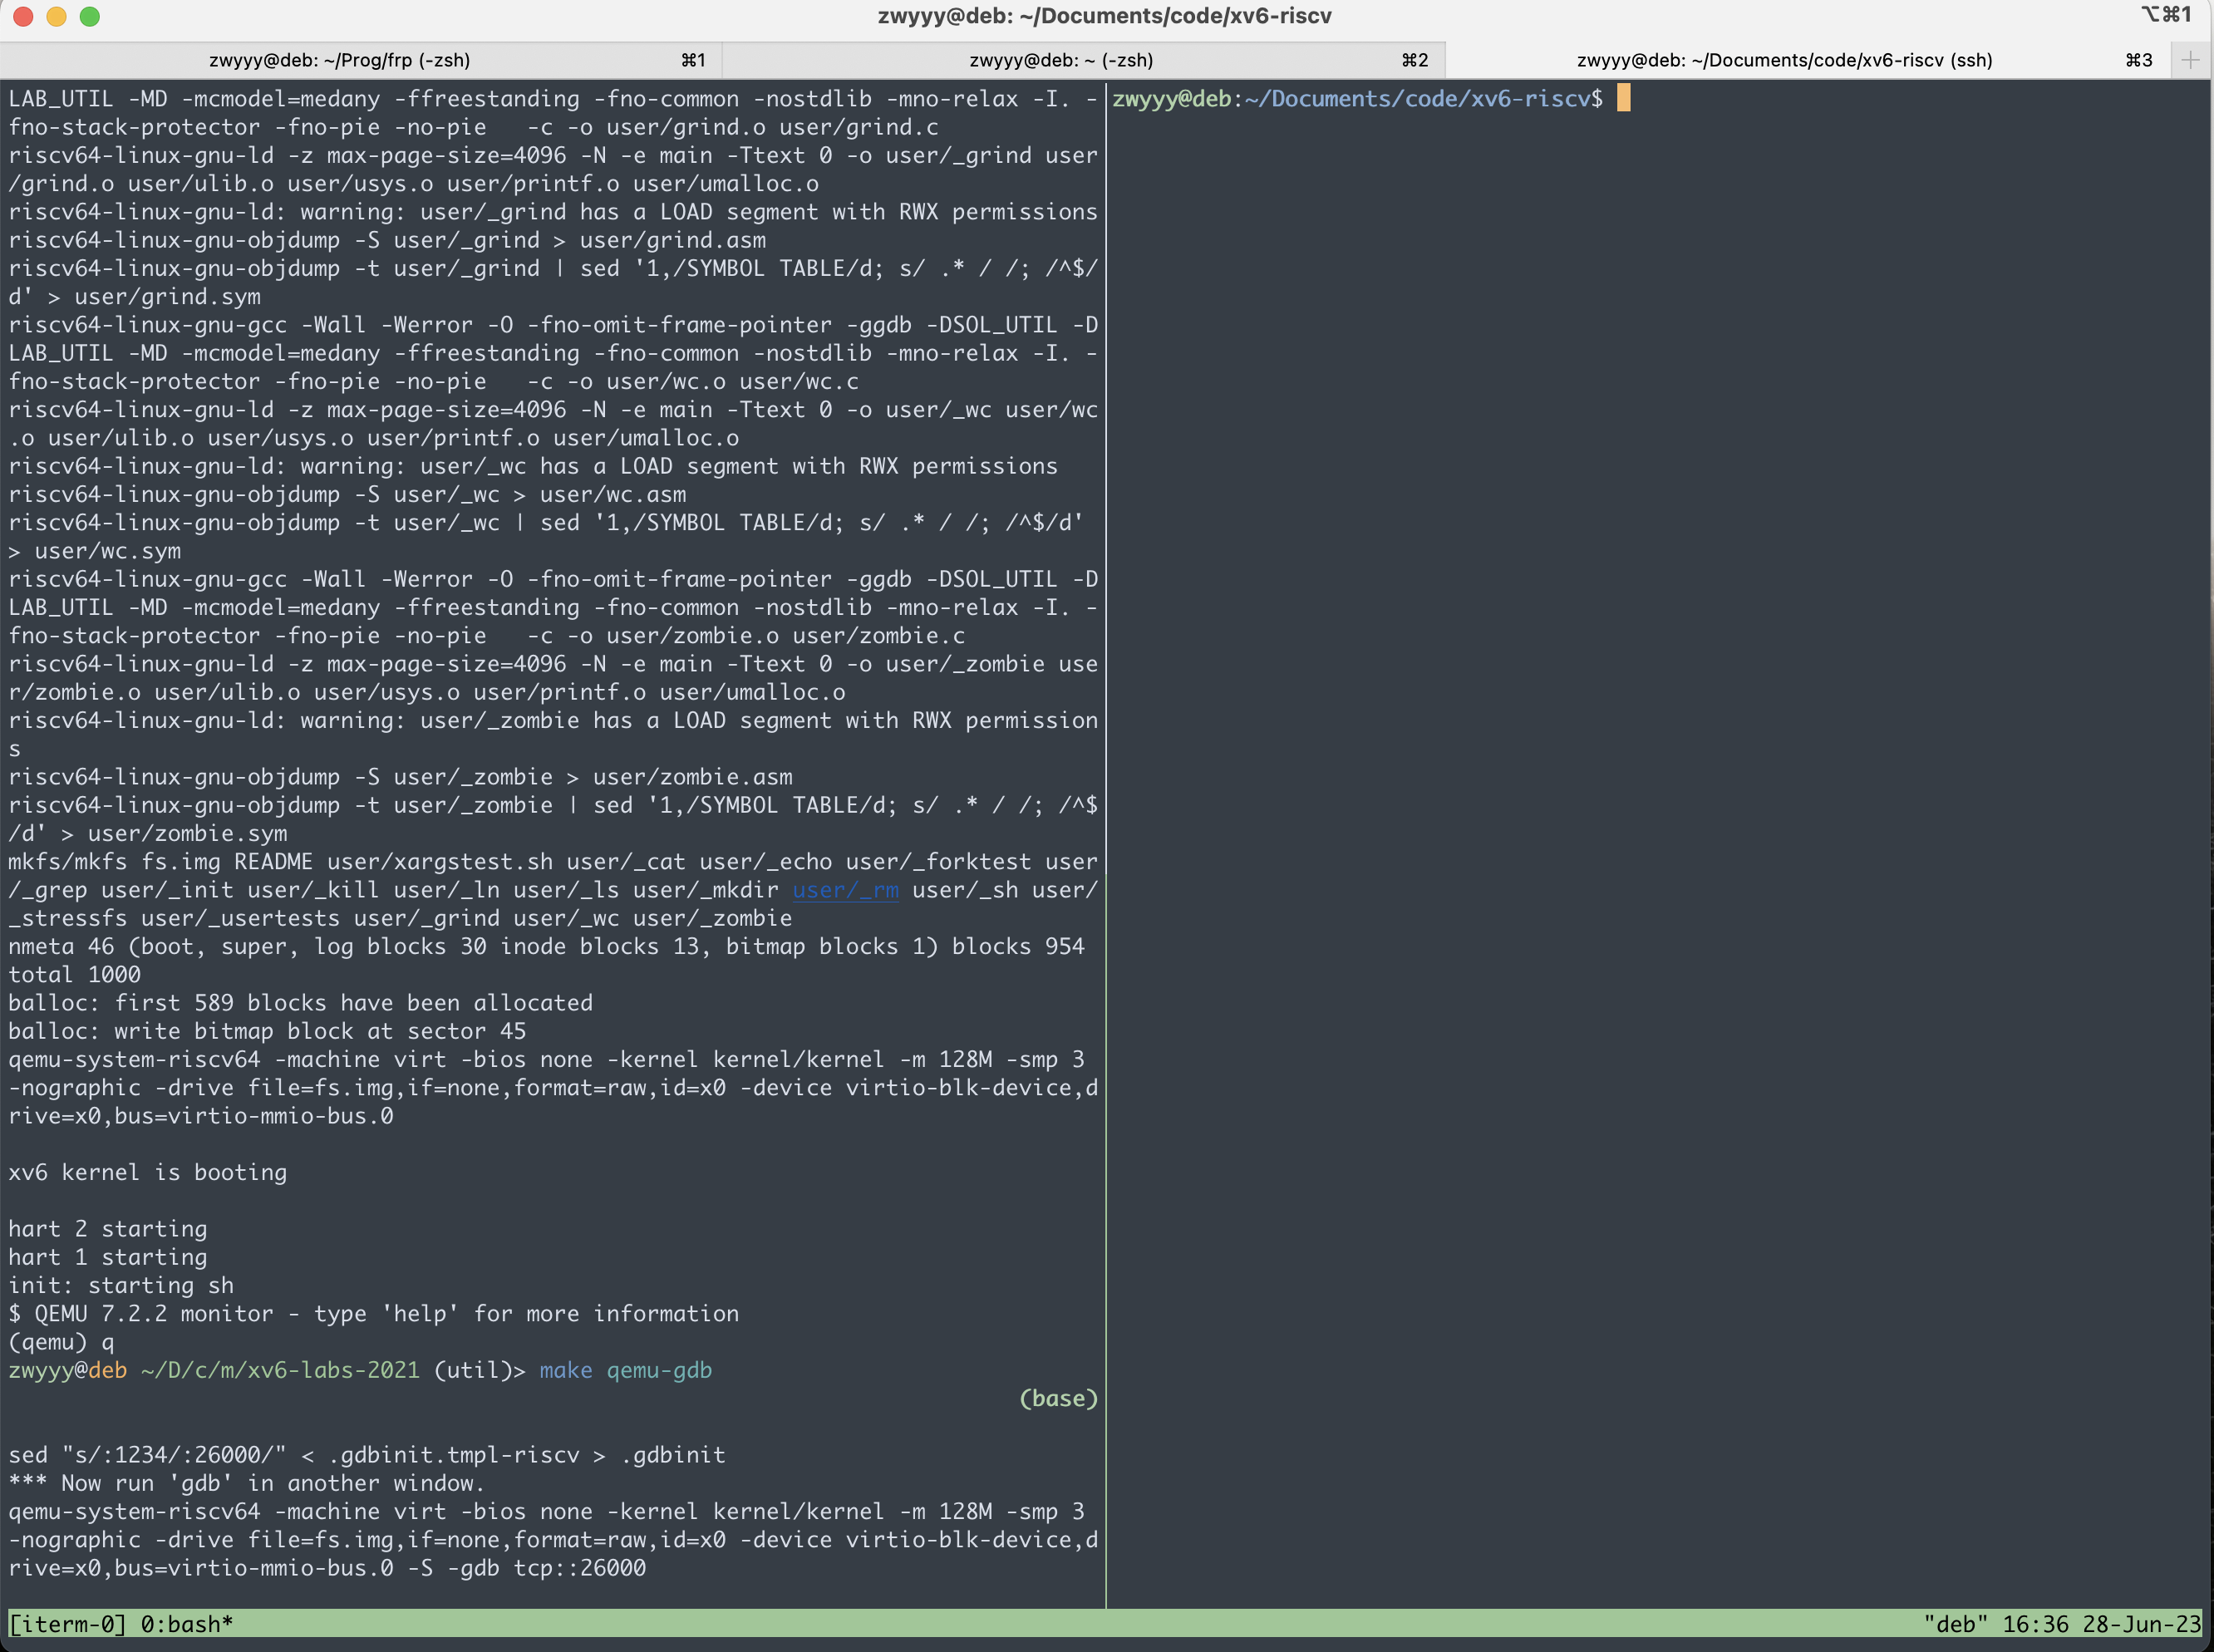
这里会用到 tmux 的功能(非必需),在 util 分支下的 ~/Documents/code/mit/xv6-labs-2021 目录下,执行 make qemu-gdb,然后先按 ctrl+b 再按 % 键,在 iterm2 的右侧创建一个新 panel,如图
我们需要修改一下源文件,在 sh.c 中,在 $56$ 行附近,void runcmd(struct cmd *cmd) 之前添加 __attribute__((noreturn)) ,这样才能正常启动系统。
右侧的 panel 也切换到上述目录,然后运行 gdb-multiarch,之后会进入 gdb 终端命令界面,执行 set architecture riscv:rv64 以调试 RISCV 架构,然后执行 target remote localhost:26000(这里端口号要看 make qemu-gdb 的输出),从而调试 QEMU 中的 xv6 系统,执行 file kernel/kernel 命令说明我们要调试 kernel/kerel.c 编译生成的可执行文件 kernel。
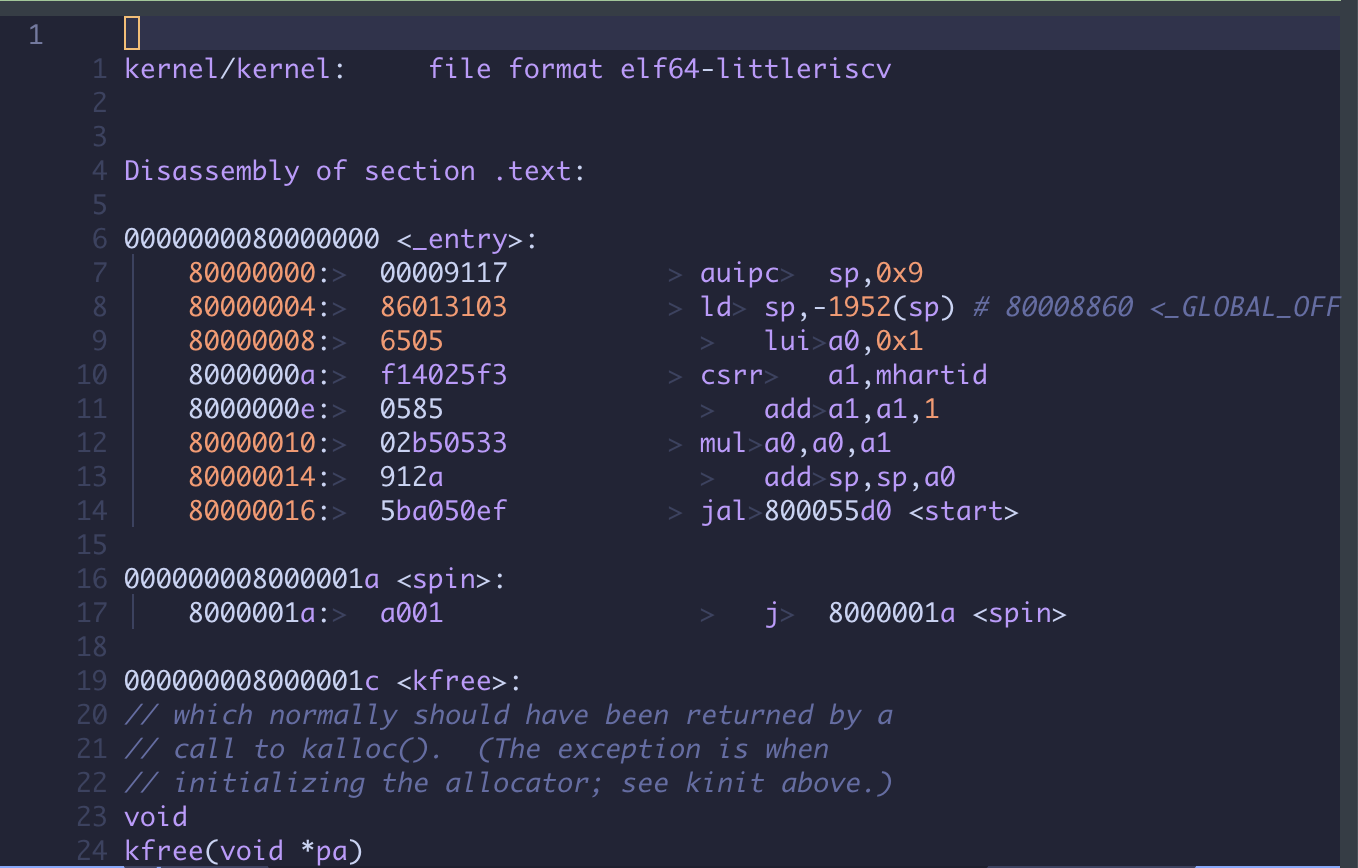
我们可以看一下 kernel.asm 的内容,如下图:
然后回到 GDB 对应的 panel,然后执行 b _entry,于是在 _entry 这里打了个断点。
说明我们调试 xv6 没什么问题了,亦说明环境已经配置好了。
之后,为了方便起见,我们可以在当前目录创建 .gdbinit,从而使得每次启动 GDB 都能执行 .gdbinit 中的命令,省得我们再一遍遍敲,.gdbinit 的内容如下:
set architecture riscv:rv64
target remote localhost:26000
(事实上后面的实验目录中是有写好的 .gdbinit 文件的,不需要我们手动创建,但是需要修改 ~/.config/gdb/gdbinit)
然后在 ~/.config/gdb/gdbinit 文件中追加一行,内容为 add-auto-load-safe-path /home/zwyyy/Documents/code/mit/xv6-labs-2021/.gdbinit。
之后就能直接 gdb-multiarch 调试 xv6 了。
调试 Xv6 时,优先使用 make CPUS:=1 qemu-gdb 来进行调试,这样会方便一些。
调试 trap 时无法跳转到 trampoline.S 的解决办法 链接到标题
有两个方案:
- 参照 该方案 自行编译工具链;
- 停在
ecall之后,再在 $\text{0x3ffffff000}$ 处打上断点,即 stvec 寄存器保存的地址,该地址是trampoline.S的起始地址。
2020 版 链接到标题
准备工作 链接到标题
2020 版的环境配置起来似乎比 21 版要复杂一些,因此我这里直接创建了个 docker 容器运行 debian,来搭建 2020 版的实验环境。
首先执行 docker pull debian 从 Docker Hub 拉取 debian 的镜像,然后执行 docker run --name mdeb -v /home/zwyyy/docker/mdeb/Documents:/home/zwyyy/Documents -it debian,这是将本地的 /home/zwyyy/docker/mdeb/Documents 目录与容器的 /home/zwyyy/Documents 目录映射起来了。
之后我们便进入了容器的终端,先执行 apt update && apt install ca-certificates 更新源,再执行 apt install vim fish sudo 以安装工具,之后执行 useradd zwyyy 和 usermod -aG sudo zwyyy,以创建用户 zwyyy 并将用户 zwyyy 添加到 sudo 用户组。
之后,我们执行 su zwyyy 将用户从 sudo 切换到 zwyyy 来执行后续命令,执行 sudo vim /etc/apt/sources.list,将文件修改为以下内容来更新软件源:
deb https://mirrors.tuna.tsinghua.edu.cn/debian/ bookworm main contrib non-free non-free-firmware
# deb-src https://mirrors.tuna.tsinghua.edu.cn/debian/ bookworm main contrib non-free non-free-firmware

deb https://mirrors.tuna.tsinghua.edu.cn/debian/ bookworm-updates main contrib non-free non-free-firmware
# deb-src https://mirrors.tuna.tsinghua.edu.cn/debian/ bookworm-updates main contrib non-free non-free-firmware

deb https://mirrors.tuna.tsinghua.edu.cn/debian/ bookworm-backports main contrib non-free non-free-firmware
# deb-src https://mirrors.tuna.tsinghua.edu.cn/debian/ bookworm-backports main contrib non-free non-free-firmware

# deb https://mirrors.tuna.tsinghua.edu.cn/debian-security bookworm-security main contrib non-free non-free-firmware
# # deb-src https://mirrors.tuna.tsinghua.edu.cn/debian-security bookworm-security main contrib non-free non-free-firmware

deb https://security.debian.org/debian-security bookworm-security main contrib non-free non-free-firmware
# deb-src https://security.debian.org/debian-security bookworm-security main contrib non-free non-free-firmware
执行 sudo apt update,并在 /home 目录下执行 sudo chown -R zwyyy:zwyyy zwyyy 将目录 zwyyy 的所有者修改为 zwyyy,并将所属用户组修改为 zwyyy。
还需要配置语言环境,执行 sudo apt install dialog locales,然后执行 sudo dpkg-reconfigure locales,输入 $97$,选择区域为 en_US.UTF-8 UTR-8,然后执行 sudo update-locale LANG=en_US.UTF-8。
注意不要手动安装 apt-utils,不安装该软件只是有警告,安装了就出现 error 了。
安装环境 链接到标题
参照 课程网站 的教程,开始安装环境。
首先执行 sudo apt-get install git build-essential gdb-multiarch qemu-system-misc gcc-riscv64-linux-gnu binutils-riscv64-linux-gnu 以安装工具。
之后参照 vscode 使用 clangd,安装 lldb 系列工具,以搭配 vscode 使用。
值的一提的是,vscode 安装好 docker 插件之后,可以连接通过 vscode remote 连接的远程主机中的 container。
安装完工具之后,我们需要卸载 qemu-system-misc,这是因为 qemu-system-misc 的更新导致它与 Xv6 内核不兼容,因此我们需要安装旧版,首先执行 sudo apt-get remove qemu-system-misc,卸载 qemu-system-misc,由于我的镜像使用的 debian 12,因此需要手动编译安装 qemu,执行如下命令:
wget https://download.qemu.org/qemu-5.1.0.tar.xz
tar xf qemu-5.1.0.tar.xz
cd qemu-5.1.0
./configure --disable-kvm --disable-werror --prefix=/usr/local --target-list="riscv64-softmmu"
make
sudo make install
cd ..
之后,可以参照 Lab: Xv6 and Unix utilities 的指导,执行 make qemu,如果成功进入 Xv6 的 shell,就说明环境已经配置好了,调试可以参照 2021 的部分。